

Here's the situation: you've baked and iced a beautiful cake, and all that's left to do is adorn its surface with some sort of decoration. Maybe you wanted something simple, like "Happy Birthday" written in cursive, or perhaps you were hoping to bust out a detailed portrait of your beloved cat. Either way, if you don't have sweet piping skills, you run the risk of messing up your freshly iced cake and presenting guests with a cake-wreck instead of the masterpiece you imaged.
Here's where a buttercream icing transfer steps in and saves the day. With this method, you can decorate your cake with any image, font, or drawing with ease and accuracy. Even those of us with no drawing or piping skills to speak of can benefit from this trick of the trade, so lets get started.
Step one: choose your decoration
Print the image or words you want to use. Since the transfer is going to be pressed onto the cake, any text will need to be backwards in order to face the right way once transferred. It’s easiest to type text up in a drawing program, save it as an image, then use a free online photo editor to flip the image before printing.
Once you have the image/text printed, you will need:
- wax paper
- buttercream tinted with food colouring that match the image/text colours. The buttercream icing must be made with butter, not margarine or soy substitutes. The transfer will not harden enough in the freezer to press onto the cake if the icing is not made with butter.
- piping bags, or ziplock freezer bags to fill with icing
- piping tips for finer details. If you're just working with large text or simple images, you may be able to make do with a small hole at the corner of the piping bag/ziplock bag. However, detailed images are much easier when you have a fine tip.
- stiff piece of cardboard, foam board, or glass to tape the image and wax paper to
- tape
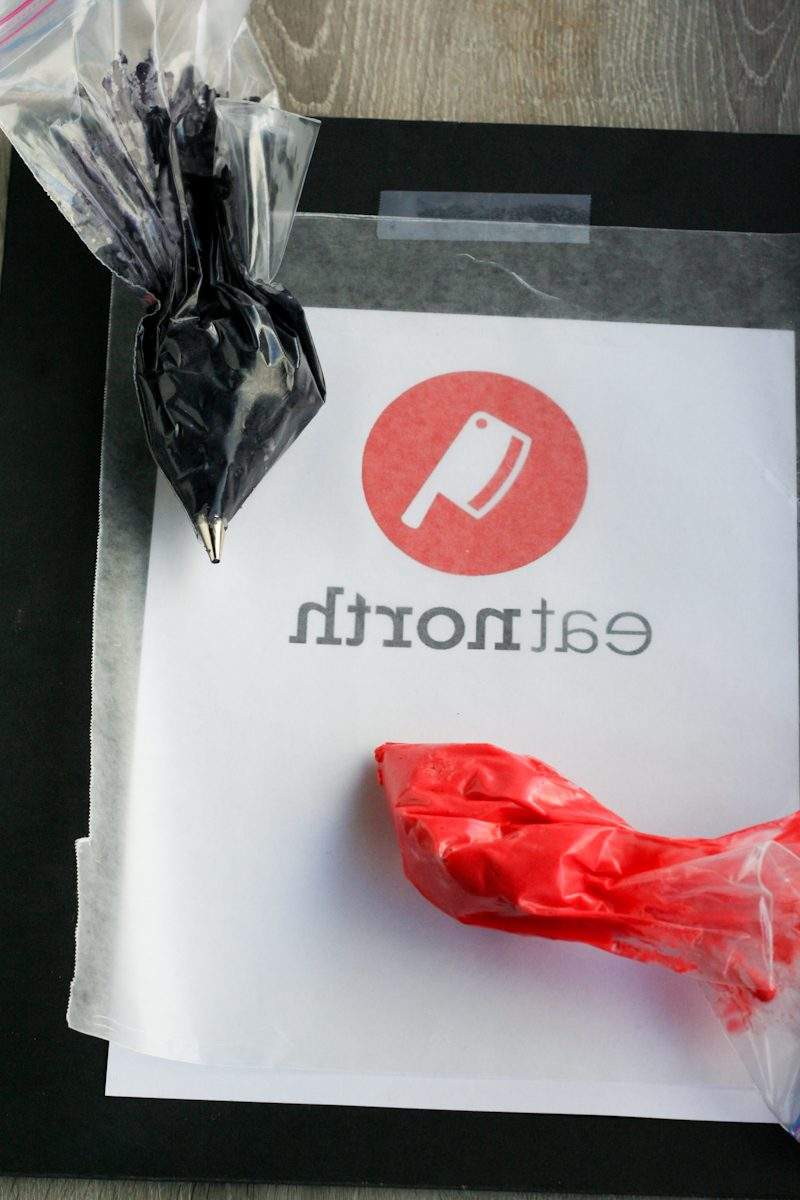
Step two: trace the image with icing
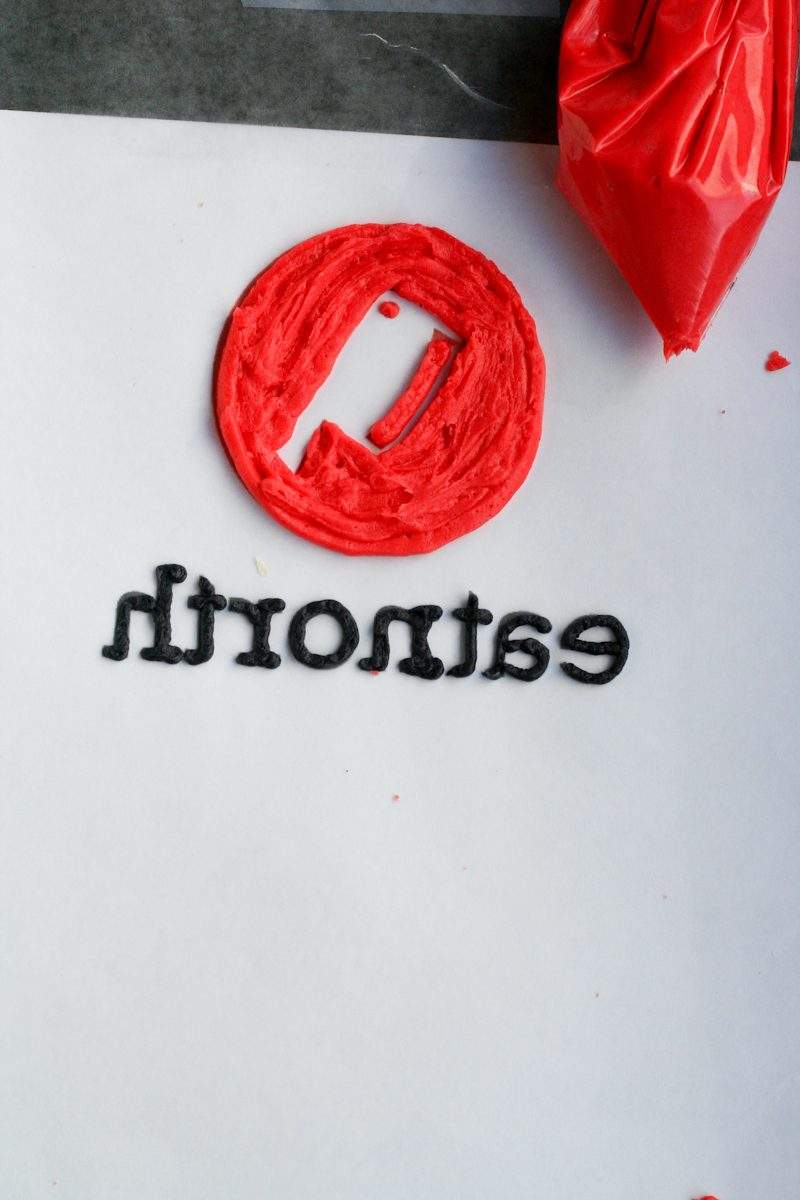
Tape the printed image to the stiff board, then tape a piece of wax paper on top. Pipe the design on the wax paper by tracing over the details that you want to show on the top. For example, if you're tracing an image of Spiderman, you'll want to draw the black details of his outfit first so they don't get hidden behind the next layer of icing.

Chill the transfer in the freezer to firm up the lines so they don't smudge when you fill in the background colours. I chose a fill colour that matched the icing on the rest of the cake, but if you were making the hypothetical Spiderman transfer, you'd be filling in your transfer with red and blue icing.

Carefully lift up the wax paper to check the underside and see what the front of the transfer looks like. If there are small holes, use a tooth pick or your finger to gently fill them in with icing. Then, place the entire board, with the transfer, in the freezer, until the icing is completely firm (approximately 20 minutes to 30 minutes, depending on the size and thickness of the transfer).
Step three: transfer the image onto the cake
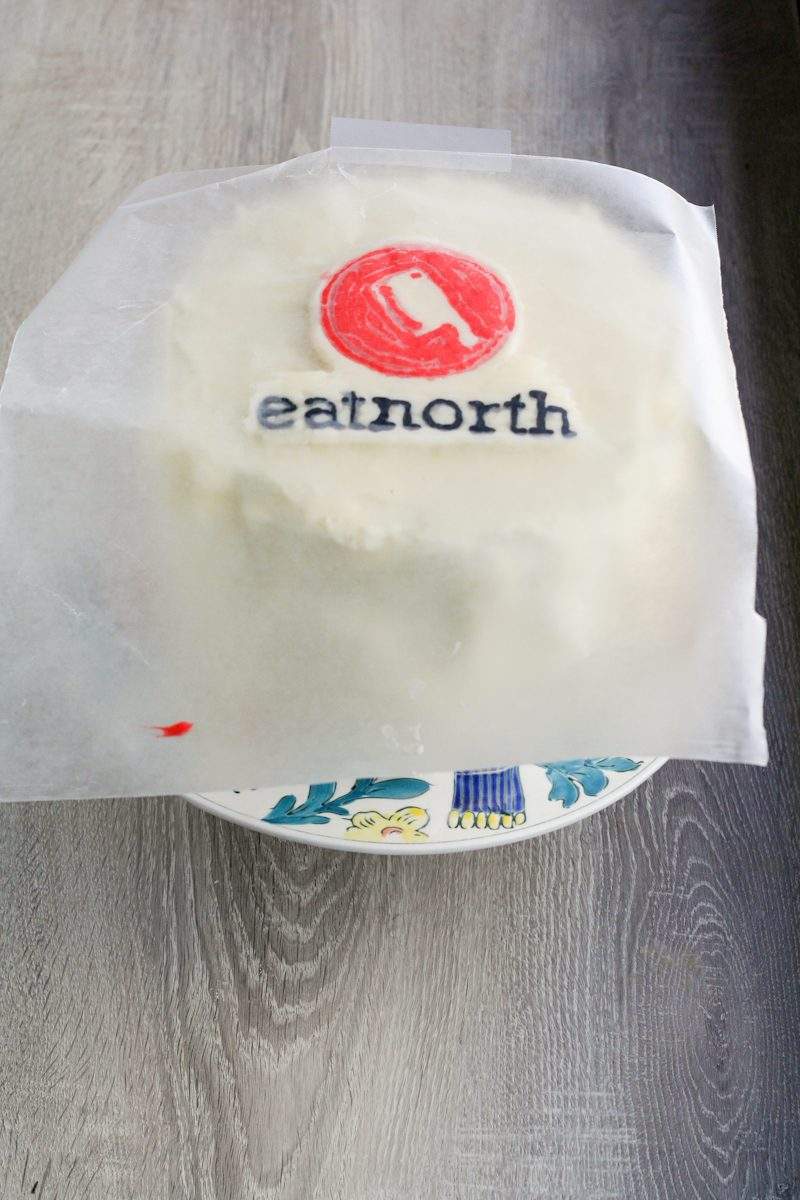
Remove the transfer from the freezer, position it on the cake, and use your hand to gently press into the icing.

Before the transfer has a chance to get all soft and melty, peel off the wax paper to reveal your sassy new cake art. So sassy.

Now you just have to smooth the icing around the transfer to blend it in, and voila! You've created a custom-decorated masterpiece despite not possessing a shred of piping technique. And, nobody is the wiser. You have won at cake decorating.